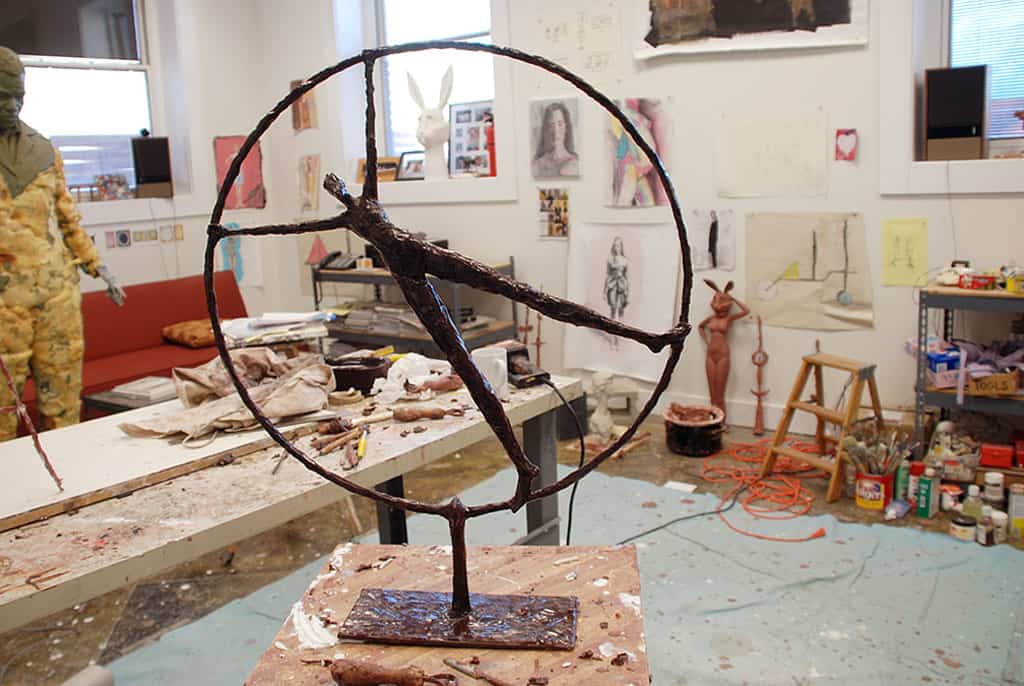
This sculptural accessory, Woman at the Center, is shown sculpted in wax.
The first step in creating a mold is to consider how the piece will be cast at the foundry and plan accordingly to obtain a successful casting. In order for the foundry to use a mold, they need to be able to open it up, requiring a two-part mold (a top and bottom or two sides depending on how you look at it).
In this case, a bed of clay is used to partition the sculpture. Shown in bright red wax, sprues (or channels) are added to the mold. The sprues will ensure that bronze flows smoothly to the figure at the center.
Registration marks are engraved in the surrounding clay bed so that both parts of the mold will register perfectly.
Multiple coats of silicone rubber are painted on the assemblage, picking up each and every detail in the original sculpture, even fingerprints.
Registration tabs (shown in light lavender) are added to ensure the rubber mold will register with the plaster “mother mold”.
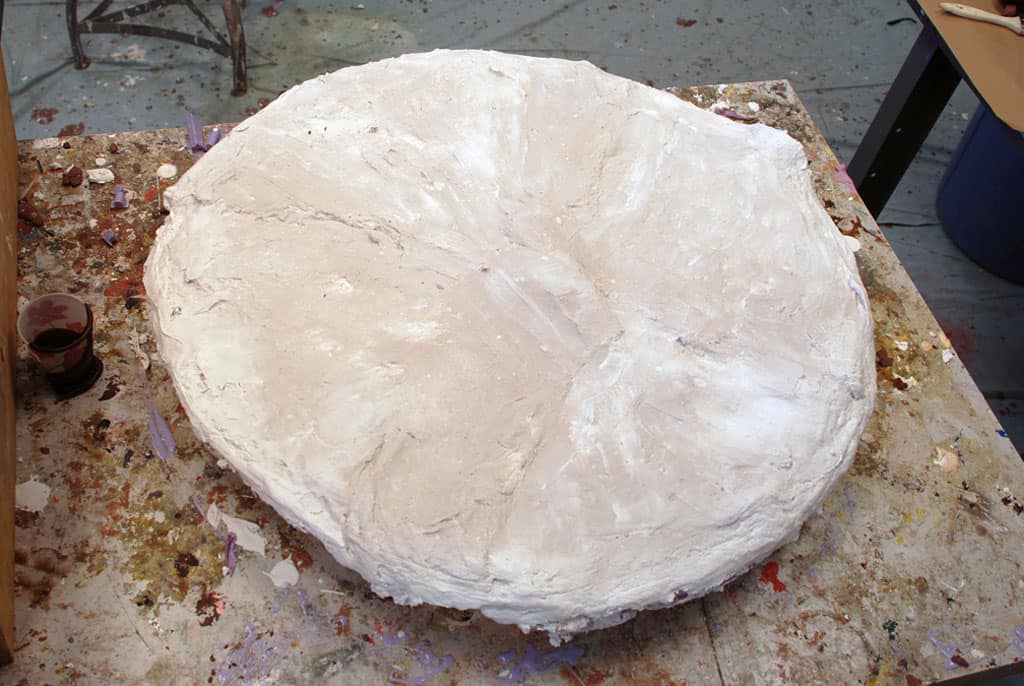
 While the rubber mold retains all of the detail in the original sculpture, it does not have the structure to hold the shape or form. Plaster is applied to create a rigid “mother mold”. This will keep the positions of elements such as arms and legs in proper form.
The clay bed is removed so that the other side can be molded. A release agent has been sprayed so that the two halves may be separated later on. Tom paints the first layer of rubber on the opposite side of the two-part mold. The plaster process is now repeated on the second side, which completes the mold.
The original sculpture is removed from the rubber and plaster mold. Occasionally, Tom will keep the original sculpture in wax or clay to display in the studio, but most often the materials are reused for a future sculpture. The finished mold is now delivered to the foundry where they will begin the casting process.
See the finished piece, Woman at the Center.
Continue to The Process of Bronze – At the Foundry
